


Making Ball Jar Pendant Lights
Posted by: Whitney Daulton
Remember when paper lanterns were the big craze? When I was making my way through college, I think I had one in every color. They were so cheap and easy to hang around the dorm or apartment. But after a year, they’d get torn, ripped or faded and it was time to pitch them. But wait—don’t do that!
I tossed the paper part of the lantern, but kept the electrical cord/socket because I knew someday those cords would come in handy. Now that I’m seeing a trend in upcycling old jars, I decided this would be the perfect opportunity to use the cords as pendant lighting. So I set out to make some Ball jar pendant lights.
Shop Local
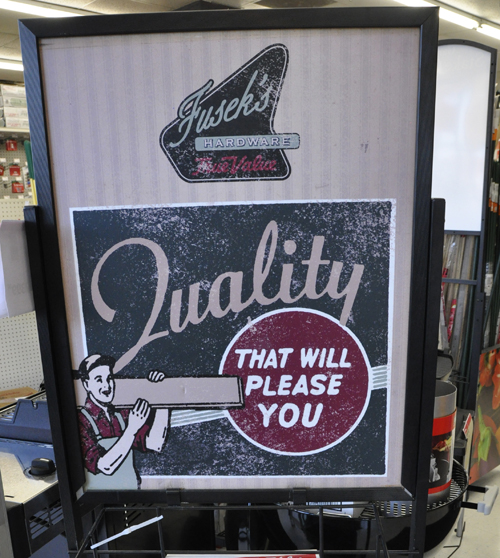
I stopped by Fusek’s True Value, an independent hardware store just a few blocks from my apartment, for some items to complete my project. They were so helpful, and I really enjoy supporting my local retailers!
Tools and Materials List
All the items below can be found at your local independent hardware store.

- Glass canning jar (Ball, Mason, etc.)
- Spray paint that will work on metal
- Permanent marker
- Hammer
- One nail
- Flathead screwdriver or chisel
- Light kit (I’m not sure if you can buy these separately or if you have to buy a cheap paper lantern.)
Getting Started
To get started, I placed the light socket on top of the metal lid and centered it. Then I used a permanent marker and traced a circle on the metal around the socket. After making the circle, I used a hammer and nail and made holes just on the inside of my marked circle until I went all the way around.

After finishing the nail holes, I used a flat head screwdriver and hammer to finish the hole. I hammered the screwdriver along the nail holes until the circle was completely cut.

Securing the Light to the Metal Lid
After cutting the hole in the lid, I unscrewed the lid and wedged the light socket into the metal. In my case, the socket fit so tightly into the lid that I didn’t have to use glue or tape to hold it in place. If you have to use an adhesive, make sure it can withstand the heat from the light bulb.
Painting the Light
I taped the cord from the base of the socket up a few inches to avoid getting spray paint on the cord.

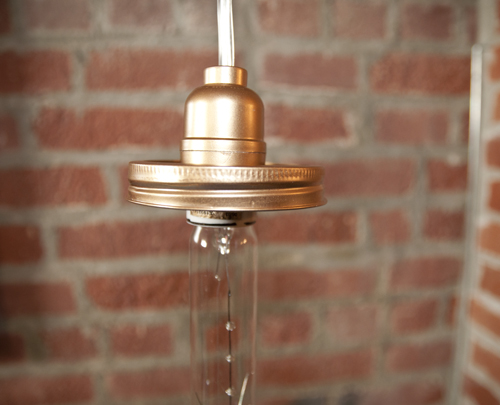
I took it outside and held the cord up and spray painted the lid and socket gold. After drying, I spray painted a second coat.

Putting it All Together
After the top dried, I removed the painters’ tape and put a light bulb in the socket.
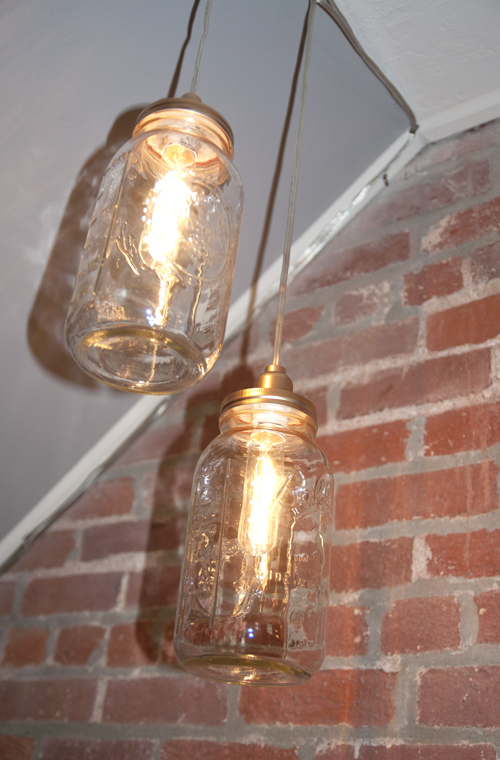
I then carefully screwed the lid onto the jar and tested the light to make sure everything worked.

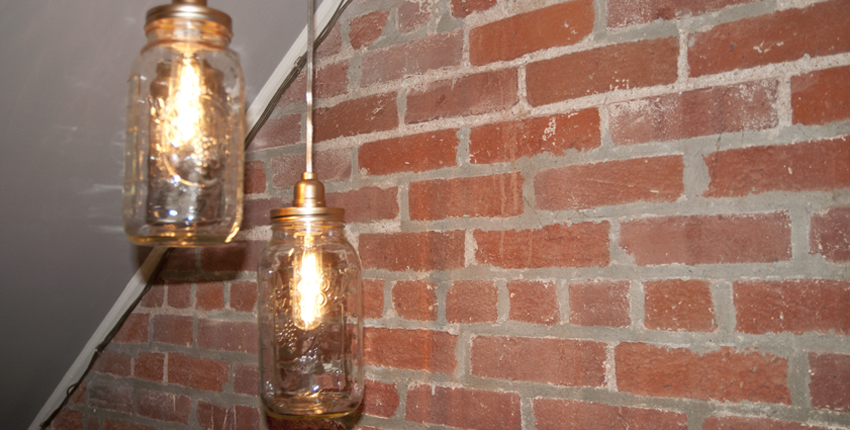
In a little less than two hours, I had a beautiful new Ball jar pendant light to brighten up the dark space under my stairs.


I saw this done on DIY channel and they also punched some air holes on the lid to allow for heat exchange when the light bulbs got hot. This was to help the jar from over heating and breaking. Cool idea!
Love this! We made some for our window display last year. I really like your instructions. Thanks for sharing!
I’ve been wanting to make one of these! Can I use any other kind of light bulb besides what you show? Would there be a wattage limit? I could use either a quart or pint jar right?
Very informative post. I really do hope and pray this stuff works! MyGroundBiz
This is a great idea for decorating personal rooms. But I think some people can’t buy the street lights in pakistan you use. if anyone is unable to buy this light i recommend buying LED cable/ strip lights, roll them, and put them in the jar. it will work the same or maybe more beautiful
I was feeling really overwhelmed when I realized that I had a major essay due and hadn’t even started it yet. But thanks to the student payforessay paper service I found, I was able to get my essay done on time and with very little stress. I would definitely recommend their services to anyone in need of a little extra help.