Mirror Frame: Do It Yourself
Posted by: Lynnea Chom

After living in my apartment for several months now, my walls were still pretty bare. I wanted to put up a nice framed mirror to make my living room area seem a little larger, but I hadn’t found any that I fell in love with. I decided I would just create my own, so I went to my local independent hardware store and was able to pick up all my materials.
Materials:
- Mirror
- Baseboard
- Molding
- Wood Glue
- Liquid Nails

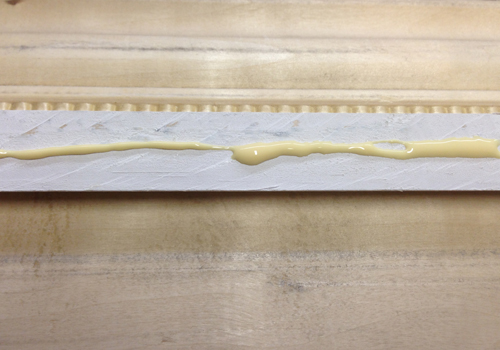
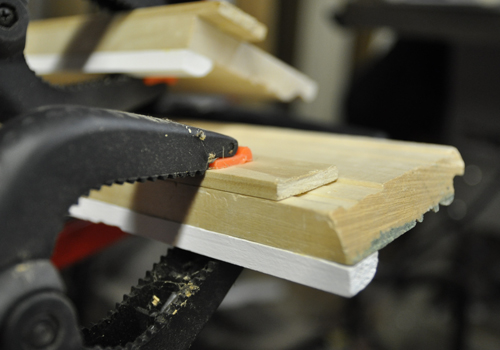
Before you cut anything, it’s helpful to glue things together first so all your cuts are even, saving you the headache of making sure each piece matches up. So I went ahead and glued my molding to the outer edge of the baseboard. I also glued a thin slat of wood on the backside outer edge of the baseboard. (This is optional, but it will make an inset for your mirror to sit in nicely.)

Then you’ll want to clamp these pieces in place until the wood glue dries.

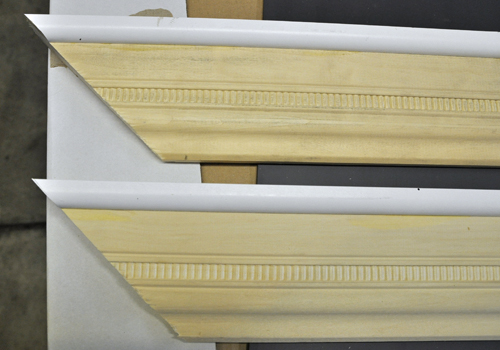
Next, you can measure out the pieces to your mirror and make your angled cuts. (I used a 24” x 36” mirror. Depending on the size of your mirror, your frame size will vary.)

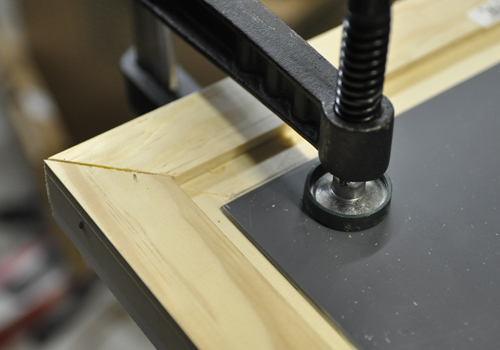
Before gluing the frame together, you’ll want to make sure it is square.

Next, you’ll want to glue your pieces together and clamp them until the glue dries. I also used a nail gun on each outer corner of the frame, just to add a little extra strength.

When your frame is dry, you then can use the Liquid Nails to glue your mirror to the frame.
** It’s important to remember to paint your frame first before you glue your mirror in! I made this mistake; you’ll be able to see a little bit of the backside of the frame in your mirror.

Make sure to gently clamp the mirror to the frame, avoiding scratching the back of the mirror. You’ll want to let it sit overnight before attempting to hang it on the wall to make sure the glue has completely dried.

To finish up my frame, I added some gold paint to bring out the detail in the baseboard. With this easy weekend project, I now have a nice focal piece for my living room.


If both the above solutions don’t work, we can try changing the permissions of files in the registry editor. active domain directory service unavailable It is possible that the error keeps emerging because your account doesn’t have access to some essential keys.
Every step that you make this product looks very careful and professional.
Loblaws has recently announced an exciting opportunity for survey participants. By participating in the StoreOpinion.Ca survey, now moved to Storeopinion-ca.me, customers have a chance to win a $1000 Optimum Pc gift card. To take part in this survey and get a shot at the reward, visit Loblaw’s official survey page at https://storeopinion-ca.me/.